ប្រសិនបើយើងធ្លាប់ផ្តិតរូបភាពជាធម្មតារូបភាពត្រូវតម្រឹមទៅជា 8
x 10 ពីរូបភាពដើម នោះក៏ព្រោះតែ aspect radio។ Aspect radio សំដៅលើសមាមាត្រនៃកម្ពស់និងទទឹង។ 8 x 10 ស្មើរនឹងសមាមាត្រ 4
x 5 ប៉ុន្តែបើ 4 x 7 ទទឹងនៃរូបភាពធំបន្តិច។យើងអាចផ្លាស់ប្តូរ aspect radio ក្នុងកាមេរ៉ាបើសិនជាយើងដឹងពីរបៀបផ្តិតរូបភាពឬអាចតម្រឹមរូបភាពទៅតាមសមាមាត្រដែលត្រឹមត្រូវ (ធ្វើយ៉ាងណាកុំអោយខូចទ្រង់ទ្រាយរូបភាព)។
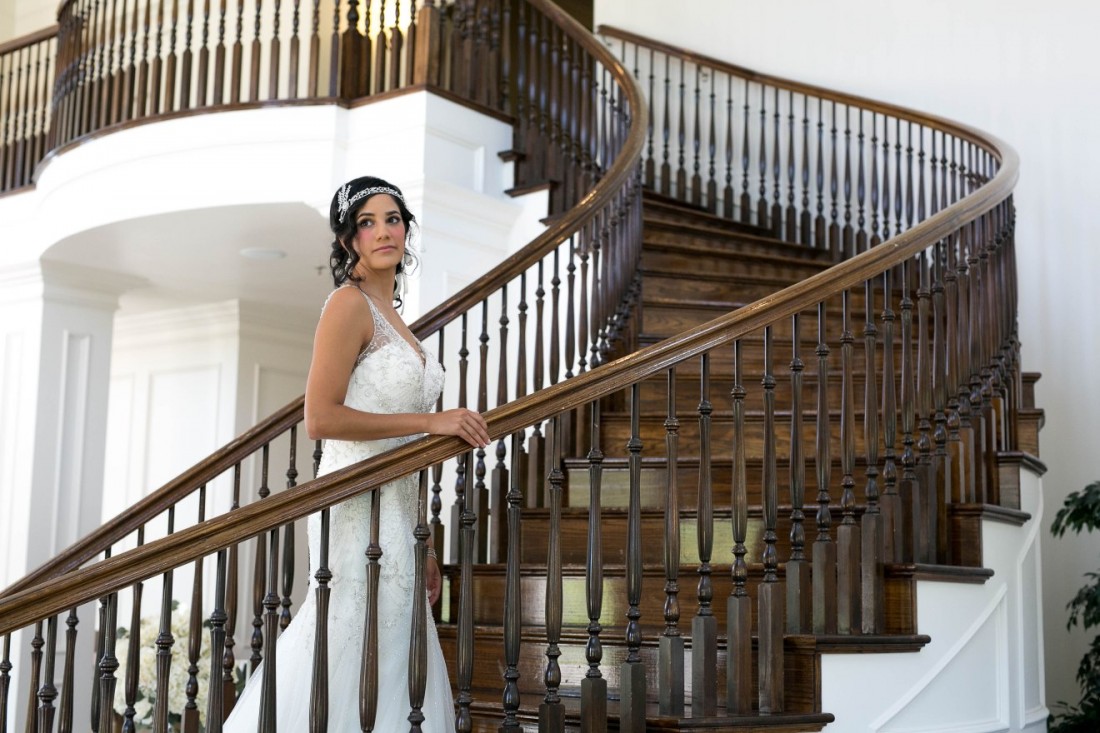
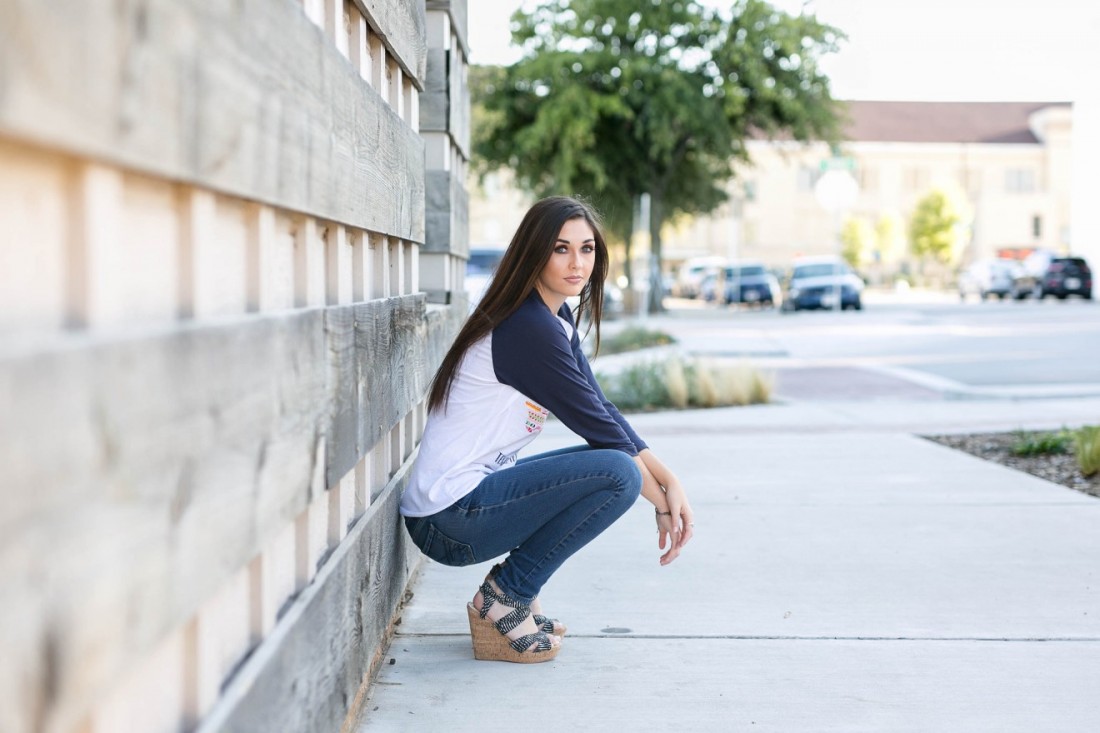
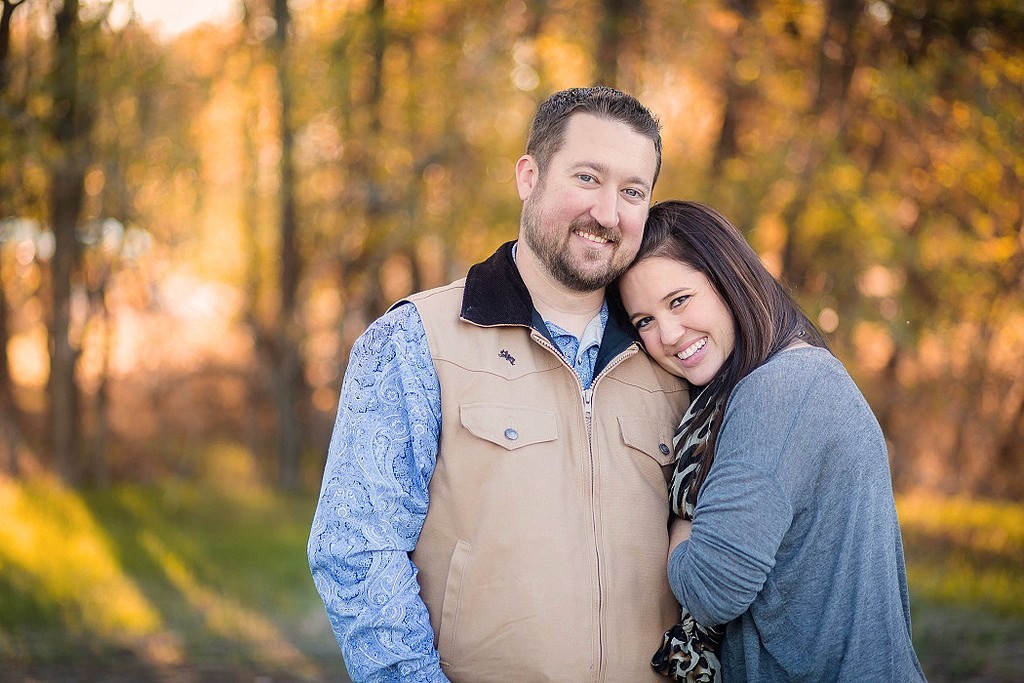
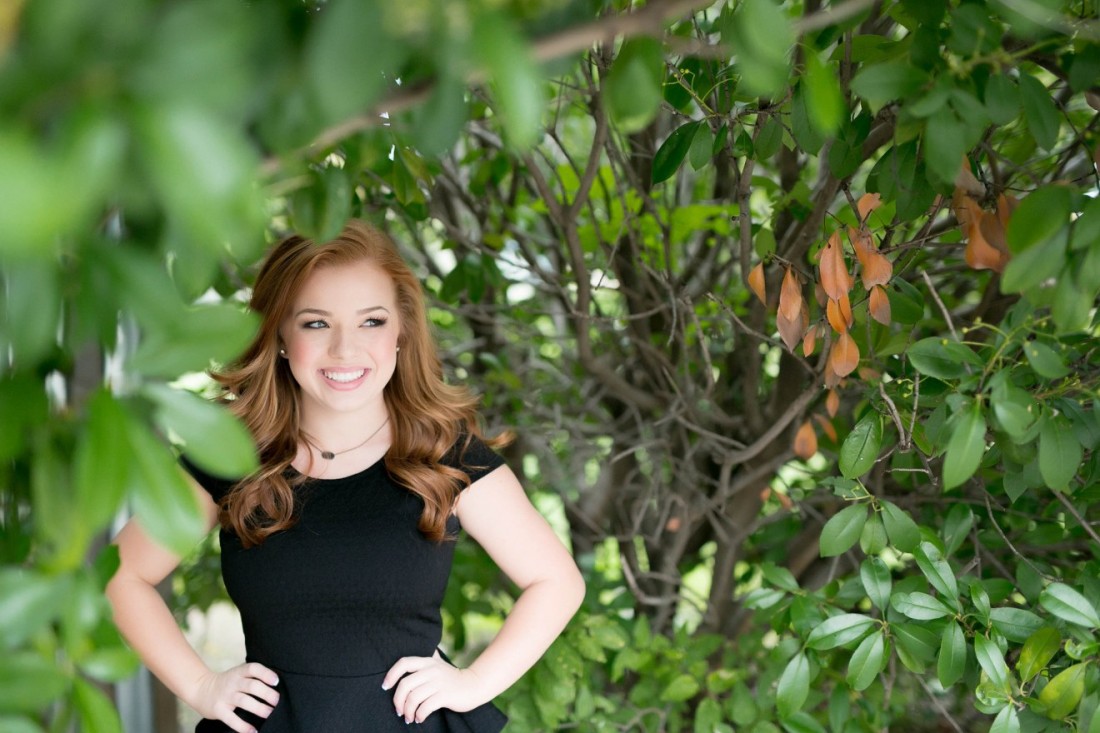
Depth of field សំដៅលើថាតើផ្នែកសំខាន់នៃរូបភាពប៉ុន្មានដែលស្ថិតក្នុងការផ្តោត
(focus)។ កាមេរ៉ានឹងផ្តោតលើចម្ងាយមួយ
ប៉ុន្តែមានរយៈចម្ងាយផ្ទៃខាងមុខនិងផ្ទៃខាងក្រោយចំនុចនោះ
ដែលរក្សារភាពច្បាស់នោះហើយជា depth of
field។ Portraits ជារឿយៗមានផ្ទៃខាងក្រោយព្រាលនេះជា shallow របស់ depth of field។ Landscapes ជារឿយៗមានចំនុចផ្តោតច្រើនលើរូបភាពនេះជា depth of field មានទំហំធំជាមួយរយៈចម្ងាយដែលរក្សារភាពច្បាស់។
Time Lapse ជាវីដេអូដែលត្រូវបានបង្កើតពីបណ្តុំនៃរូបភាពជាច្រើនដែលថតកន្លែងតែមួយ
នៅពេលវេលាខុសគ្នា។ កុំច្រលំ time lapse ជាមួយ long
exposure ដែលជារូបភាពតែមួយ ដោយប្រើ long shutter speed។
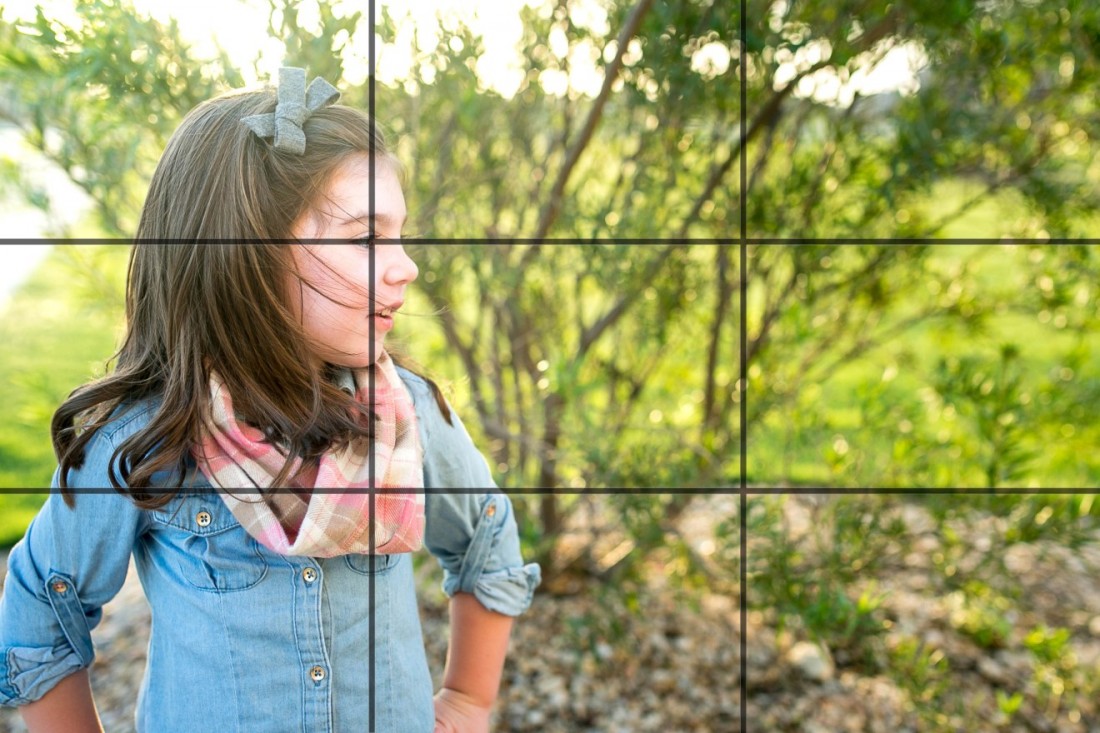
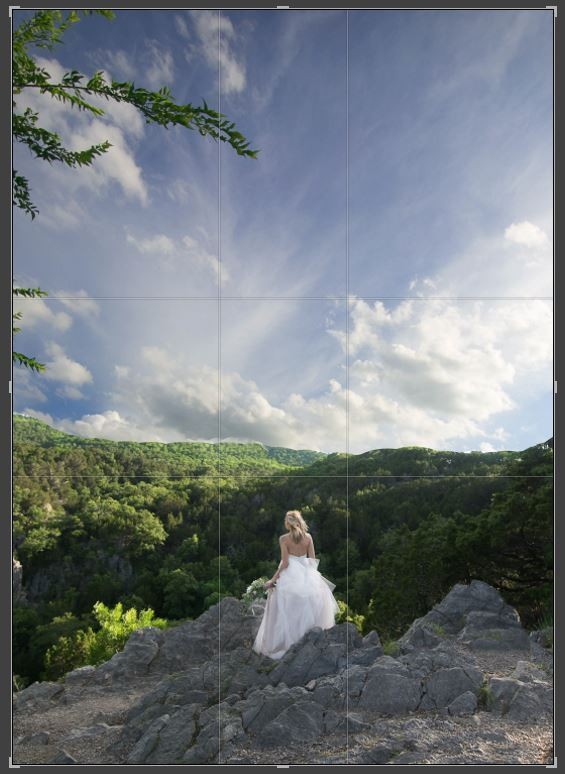
How to Use it: The rule of thirds is one of the most
basic composition rules in photography, and the most widely used. The
idea being the human eye is more interested in images which are divided
into thirds, with the subject falling along one of the dividing lines.
Most DSLRs have a setting that will show you the rule of thirds grid
lines in camera. If yours does’t, you can use your focus points, or your
own judgement to divide your image into thirds.
Rule of Thirds gridlines – Photo by Paisley Layne PhotographyWhen photographing people it’s ideal to place their face, or the eye
closest to the camera, on the intersecting lines. If they’re looking
away from the camera, make sure they’re looking into the frame rather
than out of it.
While the rule of thirds is a widely used photography composition
rule, it can seem lackluster at times. Feel free to get creative and
break the rule of thirds by placing the central element in your image in
the corners, edges, or center of the grid, like this:
Photo by Paisley Layne PhotographyPhoto by Paisley Layne Photography
Rule #2: Leading Lines
Skill Level: Beginner
How to Use it: Leading lines are elements which
guide the viewer’s eye through an image. These can be lines that are
curved, straight, diagonal, converging, or otherwise.
If the leading lines in an image are not clearly defined, the
viewer’s gaze may wander and the impact of the image is lost. Leading
lines can be found in nature, such as a path winding through the trees,
or can be man-made such as a fence lining a field of wildflowers.
Curved leading lines – Photo by Paisley Layne PhotographyLeading lines on a wall – Photo by Paisley Layne Photography
Rule #3: Depth of Field
Skill Level: Beginner
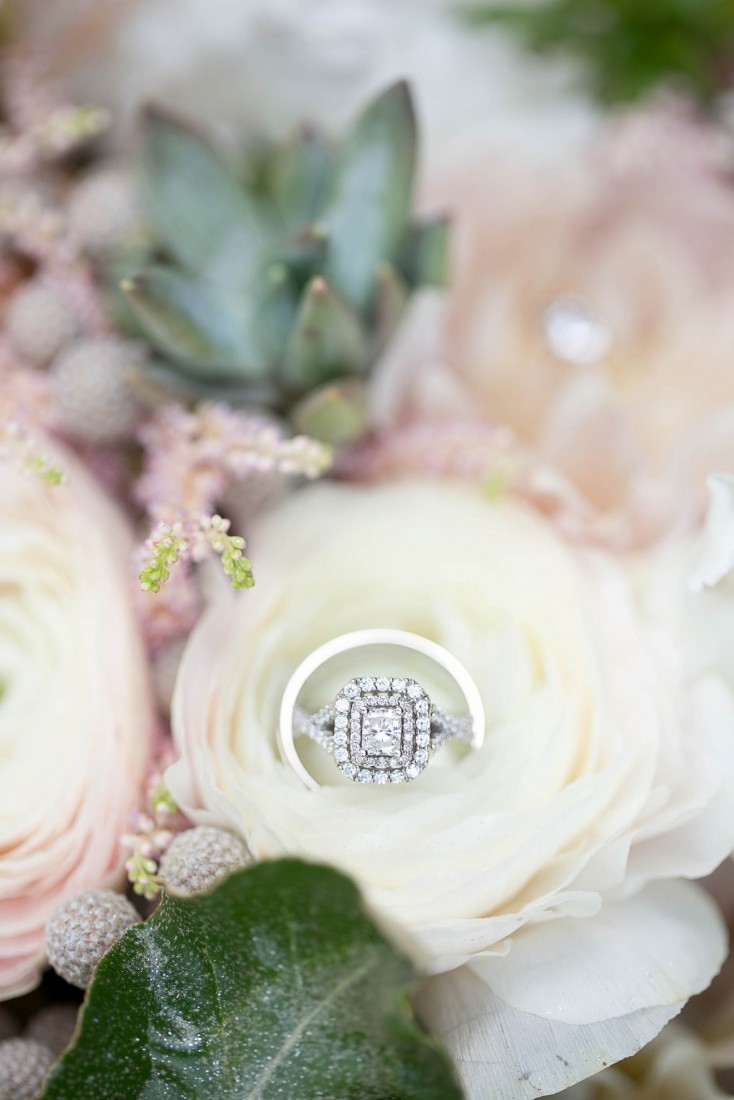
How to Use it: How you choose to use depth of field
in your image is largely dependent on the type of image you’re creating.
In portraits, use a wide aperture (small f-stop number) to blur out the
background and/or foreground. This technique will isolate the subject.
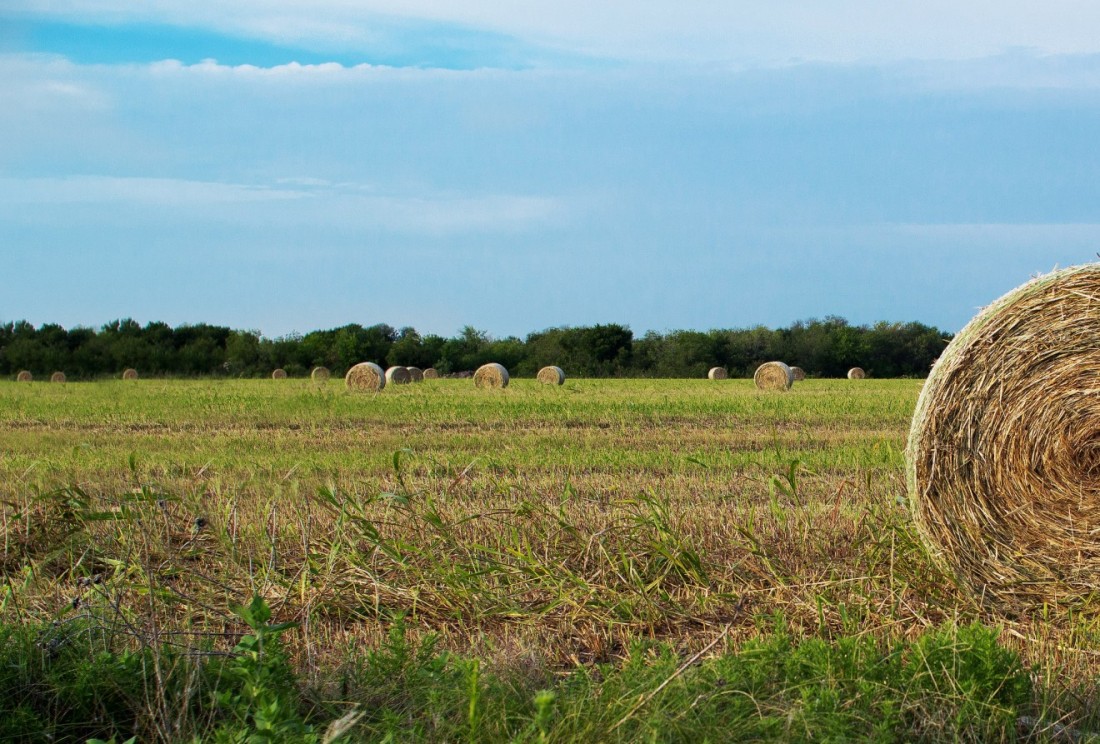
In contrast, using a wide depth of field for landscape images
(narrower aperture – higher f-stop number), keeps a larger portion of
the image in focus and adds context to the subject.
The amount of blur or shallow depth of field you’re able to achieve
in your image is due in large part to the lens you’re using. The basic
kit lens included with a DSLR camera typically has a maximum aperture of
f4.0. Whereas prime and high-end zoom lenses often have a maximum
aperture as low as f1.4 and f1.2 which creates a deeper blur effect and
very shallow depth of field.
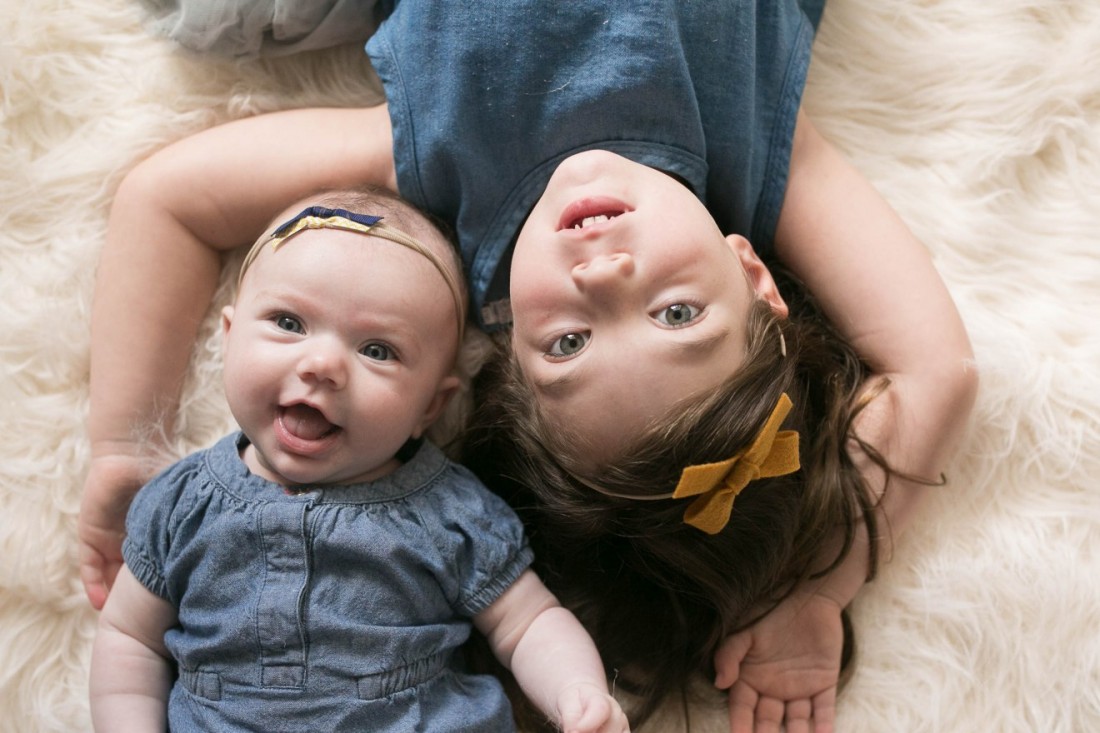
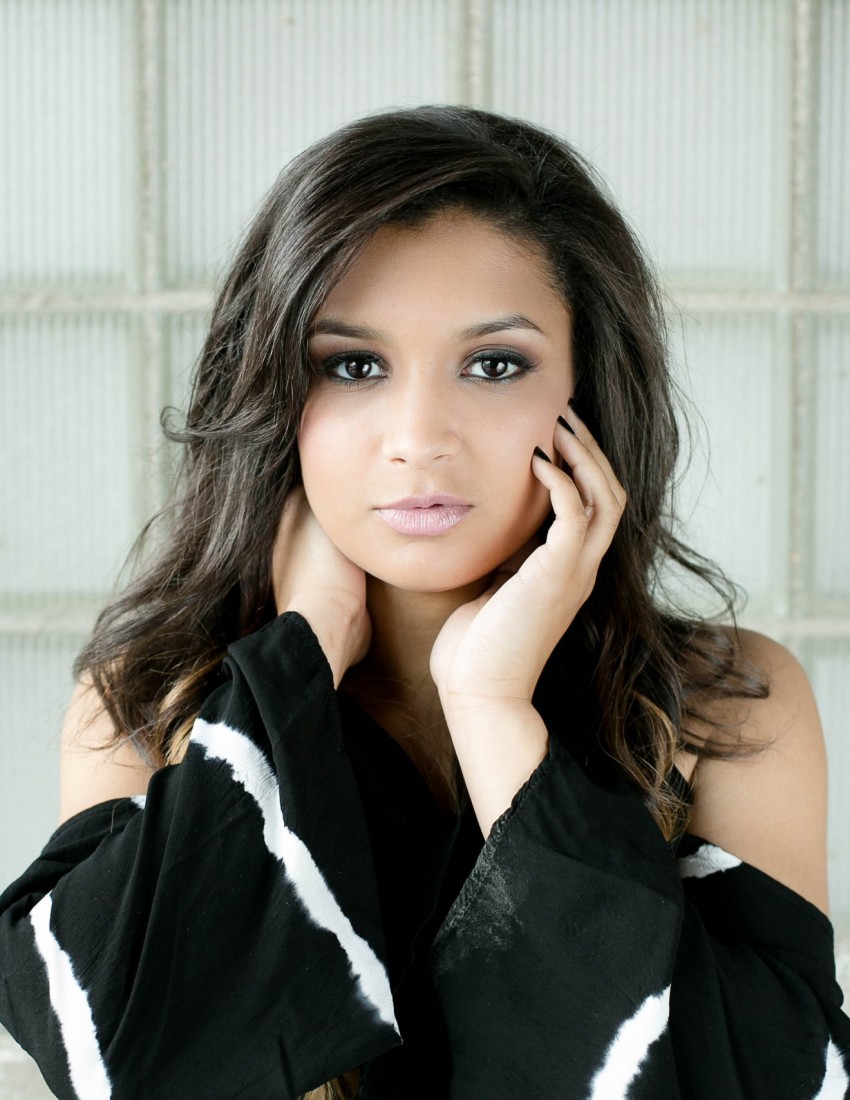
Larger depth of field (f/5.6) – Photo by Paisley Layne PhotographyShallow depth of field (f/2.2) – Photo by Paisley Layne PhotographyShallow depth of field (f 1.8) – Photo by Paisley Layne Photography
Rule #4: Framing
Skill Level: Beginner
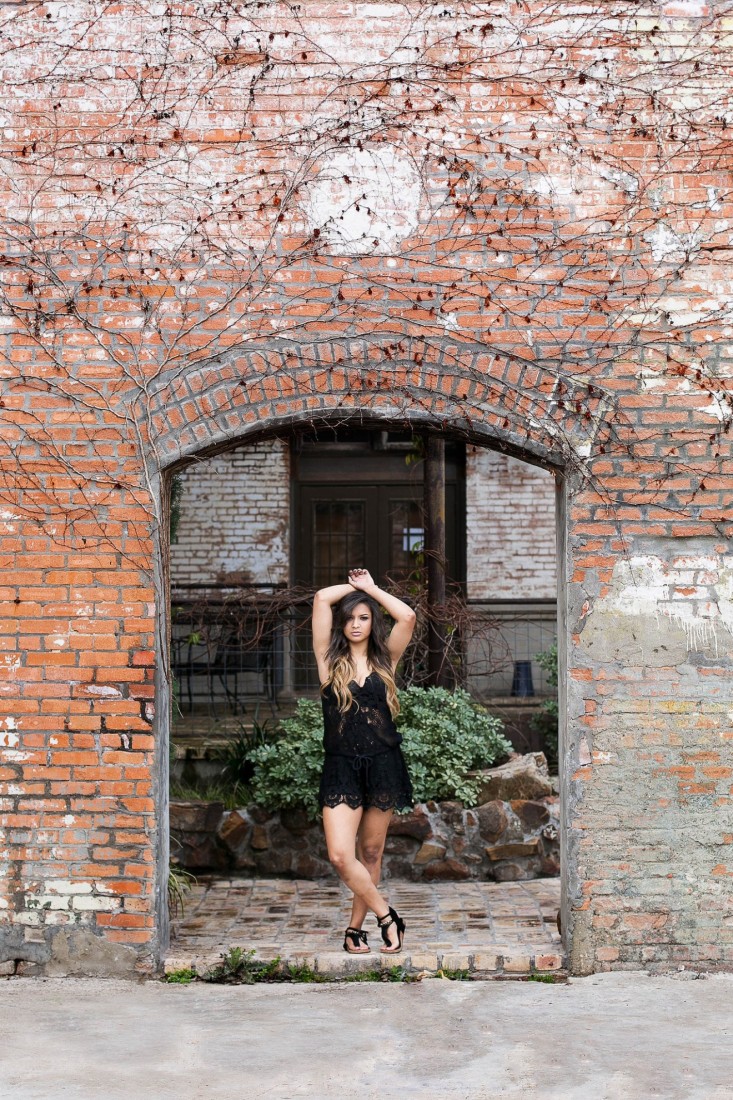
How to Use it: Framing in photography is exactly
what it sounds like–you’re creating a visual “picture frame” within your
image to draw focus to your subject. The frame can be natural such as
tree branches or a rock formation. It can also be architectural such as a
doorway, window, or arch. For example, when taking portraits, using the
subject’s arms to frame the body and face helps to draw attention to
key elements.
Finding frames while shooting is sort of like being on a really
creative scavenger hunt. You’re constantly looking for new ways to frame
your subject or finding creative tools to incorporate.
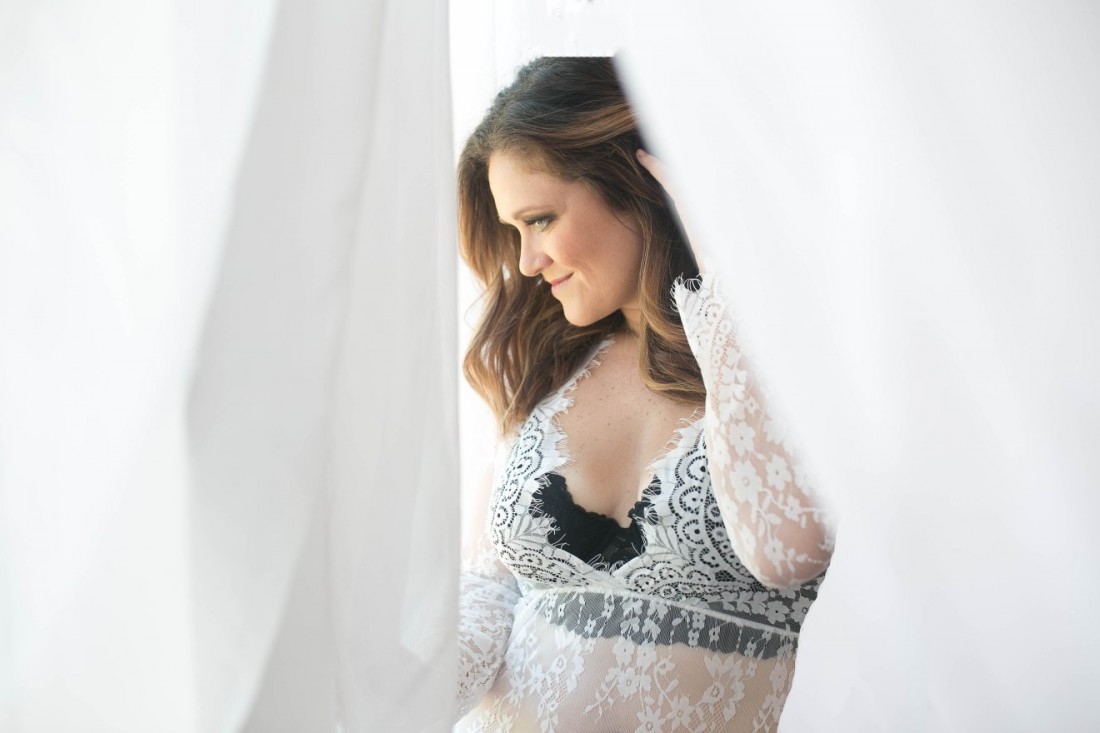
If you’re unable to find natural frames for your subject you can add
your own frames to the image. Wrapping sheer or light fabric around your
lens can create a subtle haze around your subject. You can also find
bare tree branches or twigs to hold in front of your lens to frame your
subject. There are no limits to what you can use to create new and interesting frames.
Natural framing using trees – Photo by: Paisley Layne PhotographyFraming using an open arch – Photo by Paisley Layne PhotographyUsing fabric to create a frame – Photo by Paisley Layne Photography
Rule #5: Fill the Frame
Skill Level: Beginner
How to Use it: The compositional idea of filling the
frame allows you to crop out distracting elements of the image. This
gives importance to the main subject. When you’re using this rule,
you’re essentially removing any context the background may provide.
For example, if you have a child that’s standing in a crowded park
you can zoom in closely, allowing the distracting elements to disappear
and the focus to fall on the child. However, if the child is standing in
a park surrounded by friends and family for a birthday party, the
background elements help tell a story and should be included.
Filling the frame can make an image feel overly crowded, so take caution when deciding how much of the frame to fill.
Fill the Frame – Photo by Paisley Layne PhotographyFill the Frame – Photo by Paisley Layne Photography
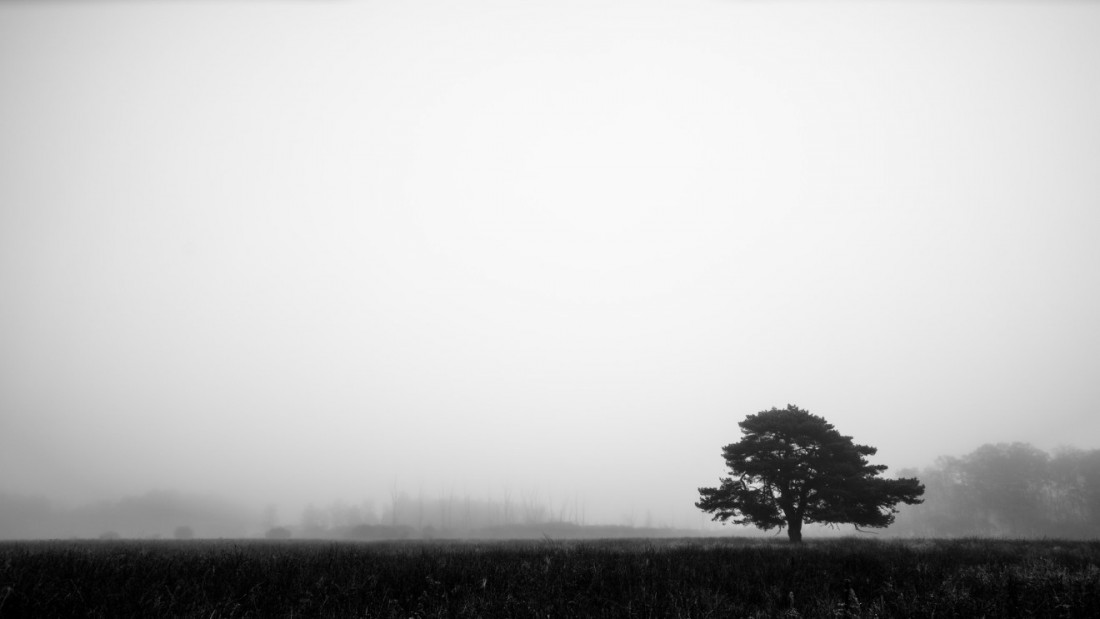
Rule #6: Negative Space
Skill Level: Intermediate
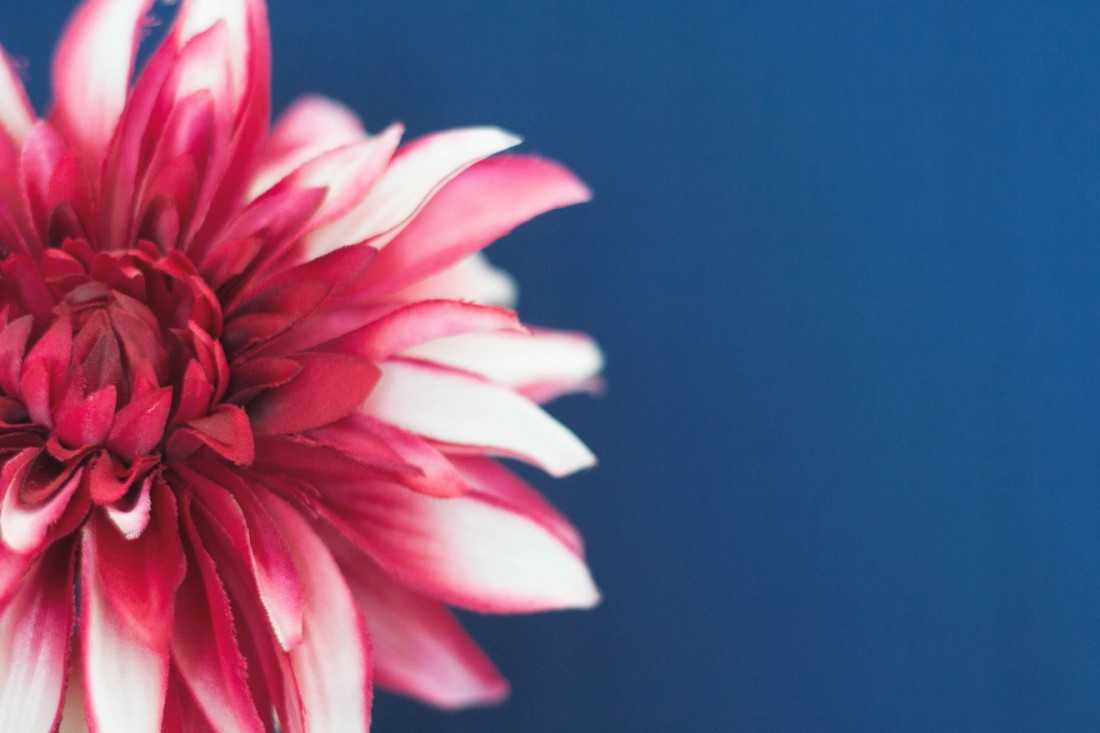
How to Use it: Negative space is the space
surrounding the main subject in an image. The space in the image is
just as important as the subject itself because it gives the subject
“breathing room” and can set the mood or convey an emotion.
Negative space helps eliminate distracting elements in an image and gives the subject space to “move” when motion is involved.
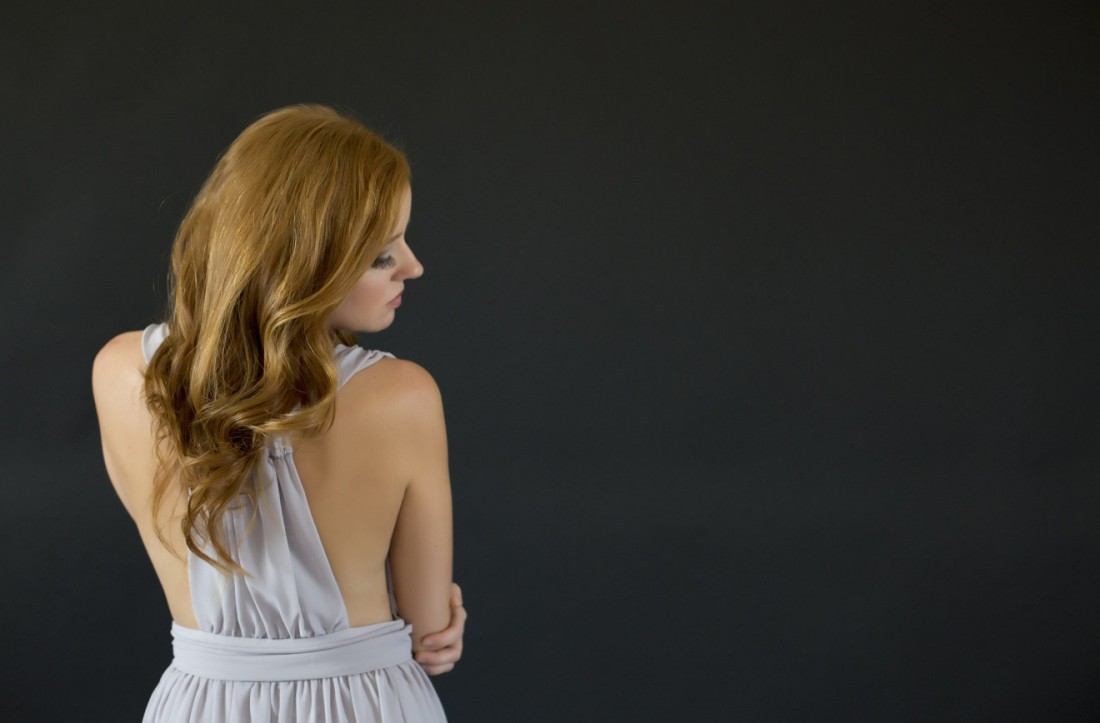
Negative Space – Photo by Hanson de SadeOn that note, if the subject is looking away from the camera, it’s
helpful to have them looking into the negative space, rather than away
from the space. Look at the photo below. Do you see how the model is
looking to the right, into the negative space? If she had her head
turned the other direction, the balance would have felt off.
It’s important to consider these fine details when you’re shooting because they can make a big difference.
Negative Space – Photo by Paisley Layne Photography
Rule #7: Viewpoint
Skill Level: Intermediate
How to Use it: Viewpoint refers to the position in
which a photograph is taken. It determines the position the viewer takes
when looking at the image. Changing viewpoints is one of the easiest
ways to dramatically change the mood of an image. Shooting from a low
viewpoint can distort the size of an object and make it appear larger
and more dominant, thus creating a diminutive feeling for the viewer.
On the other hand, shooting from a higher viewpoint can cause the
subject to appear smaller and create a sense of dominance for the
viewer. Shooting at eye level gives the viewer a chance to see the
world at the same level as the photographer. Viewpoint isn’t limited to
just high, low, and eye-level. You can also change the perception of an
image by shooting from a longer distance or up close.
Viewpoint -low- Photo by Jim RhodesViewpoint – high – Photo by Paisley Layne Photography
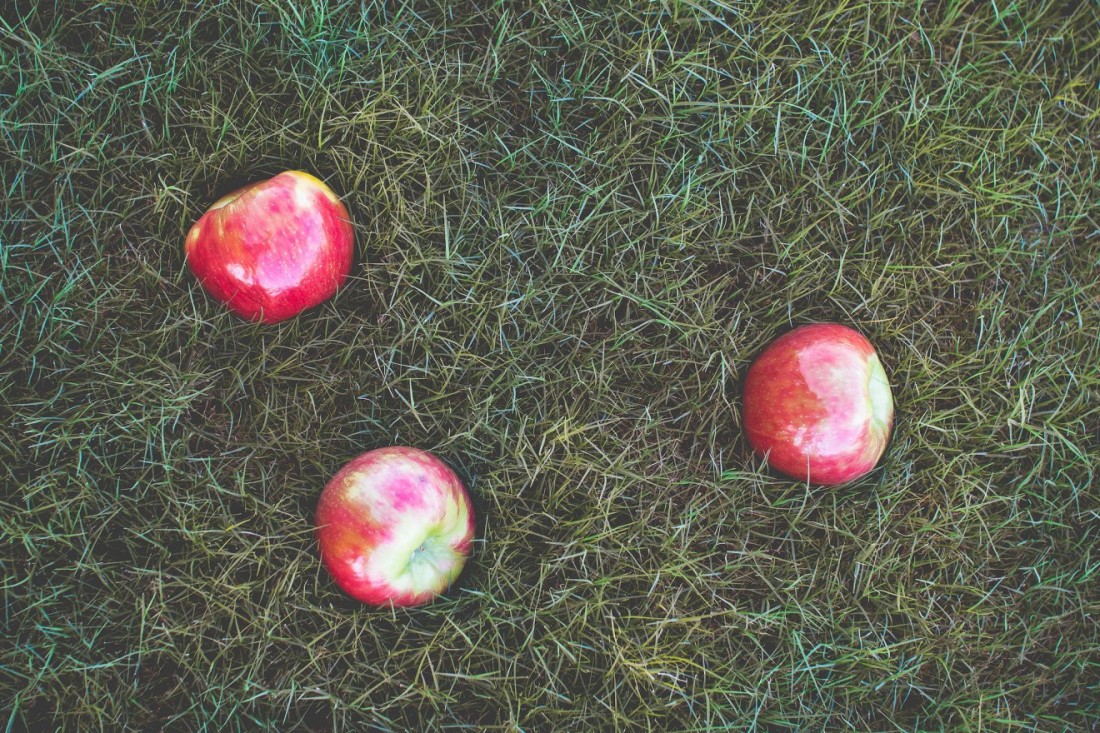
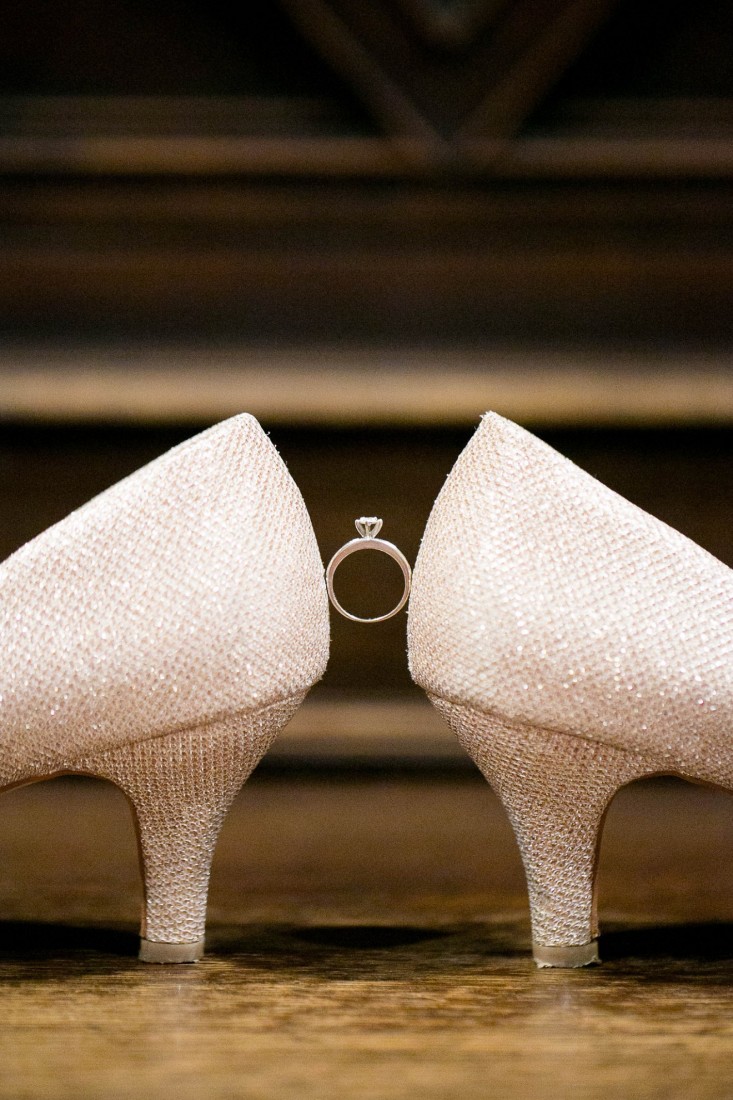
Rule #8:Rule of Odds
Skill Level: Intermediate How to Use it: The eyes are drawn to images that
contain an odd number of elements rather than those with an even number.
At least that’s the theory behind the rule of odds. Additionally, it
states the human eye is also naturally drawn to the center of a group.
If there are only two objects in an image, the eye will fall between the
two objects. If you want an element of your images to stand out, place
it between the other two objects, the eye naturally lands on it instead
of empty space.
This seems like a simple enough concept when working with objects you
can manipulate, but finding natural elements that meet the rule of odds
can be slightly more challenging. Fortunately, the more time you spend
looking for these occurrences, the easier it will to spot them!
Rule of Odds – Photo by Paisley Layne Photography
Rule #9: Symmetry
Skill Level: Intermediate
How to Use it: An image that follows the
compositional rule of symmetry is one that looks the same on one side as
it does on the other. The image can be split either vertically or
horizontally to create a line of symmetry.
Reflections are an excellent example of symmetry, but other forms of
symmetry can be found in nature and man-made structures. When shooting
symmetrical images, shoot from the center of the structure and make sure
the camera is parallel to the structure.
Symmetry – Photo by Paisley Layne PhotographySymmetry in Nature – Photo by Anderson Mancini
Rule #10: Patterns
Skill Level: Intermediate
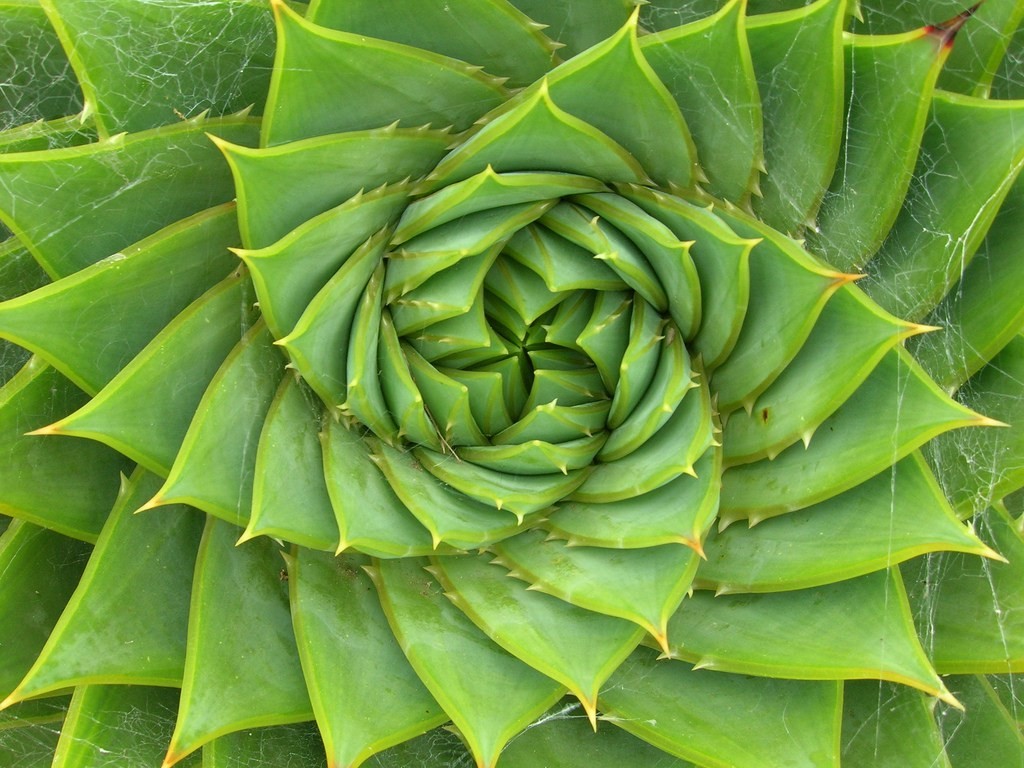
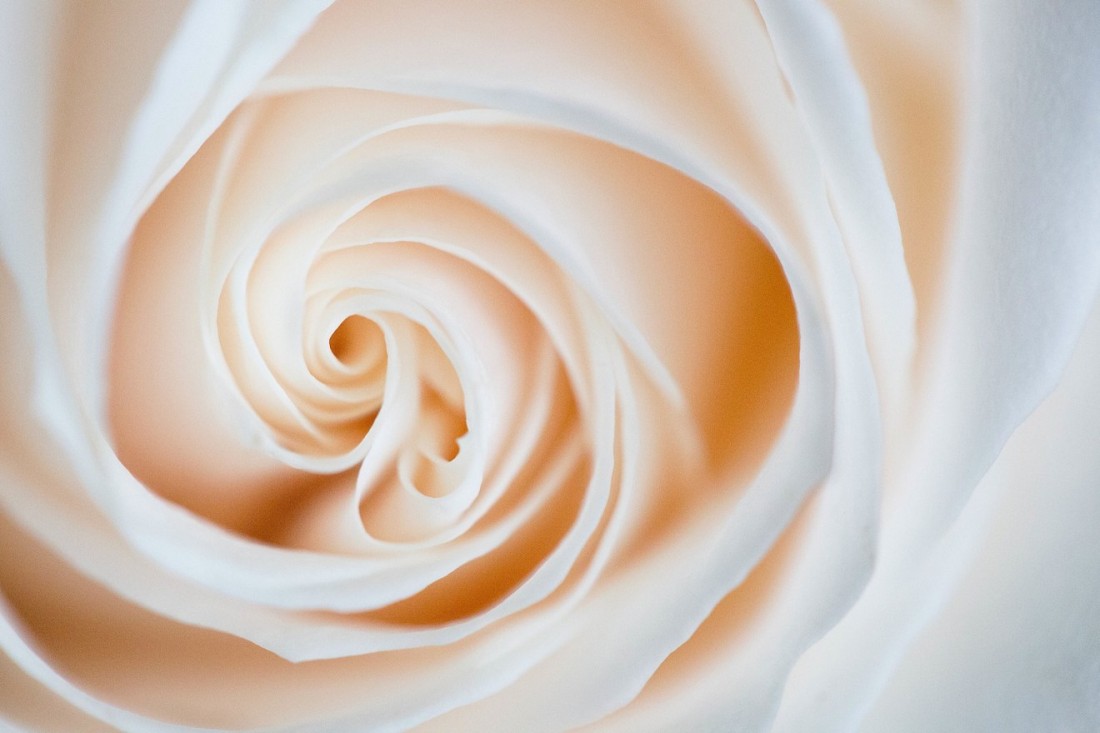
How to Use it: Patterns are all around us, both in
nature and in mad-made structures. Using patterns in your images
creates a sense of rhythm and harmony. Patterns appear when elements
such as lines, shapes, colors, or forms repeat themselves. The secret to
finding patterns is to look at your subject and image from different
angles and viewpoints. The patterns seen in the colorful umbrellas lined
up on a beach may not be as obvious when viewed from ground level, but
are much more obvious when viewed from your hotel balcony. Move your
feet, mix it up a little!
You can also find patterns by looking more closely at subjects. Macro
images showcase patterns in nature that are not otherwise noticed.
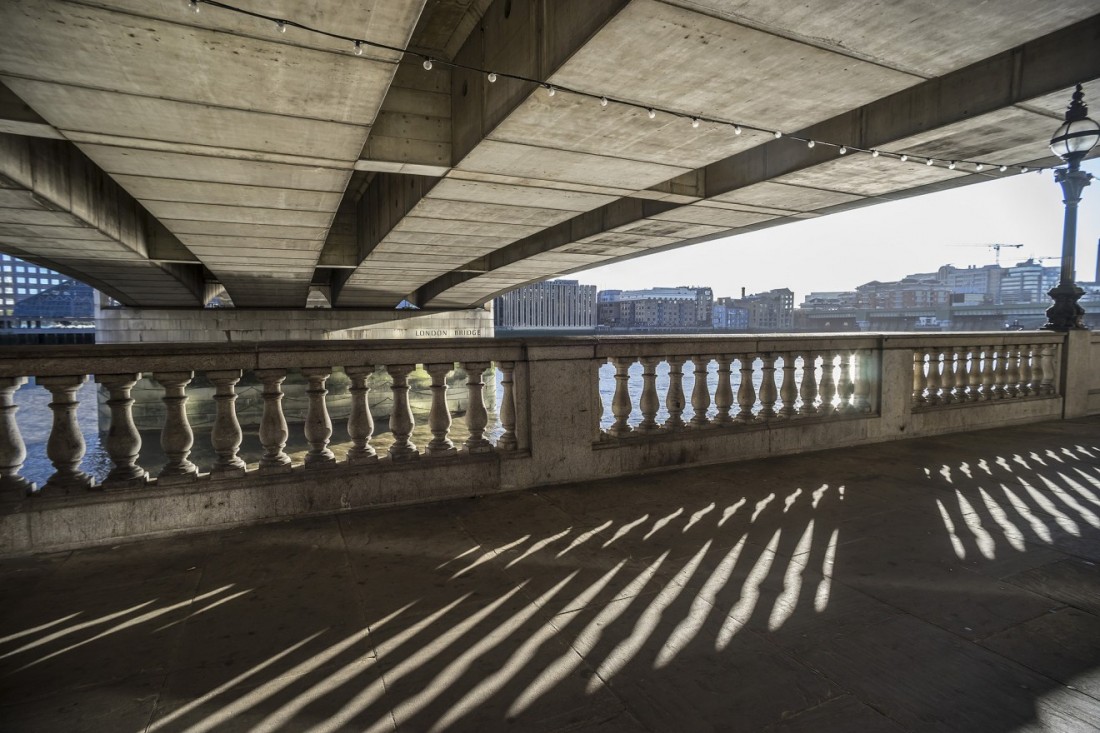
Light patterns can also make for interesting images, such as the way the
sunlight shines through the pillars lining a walkway. Once you start
noticing all the patterns that surround you, it will be hard to see
anything else.
Patterns in nature – Photo by J. BrewShadow patterns – Photo by Gordon Haws
Rule #11: Balance
Skill Level: Intermediate
How to Use it: Balance in an image is sometimes
confused with symmetry, but they are not always the same. While an image
can be balanced by having equally weighted elements on either side of
the frame, balance can also be achieved using the rule of thirds.
When using the rule of thirds, it’s common to have one larger, more
dominant, subject in the foreground. But this gives the image an
unbalanced feel. This is corrected by adding a smaller, less important
element in the background.
Balance – Photo by Paisley Layne PhotographyBalance – Photo by Paisley Layne Photography
Rule #12: Color Theory
Skill Level: Intermediate
How to Use it: Do you remember the days of selective
color editing? When an image was converted to black and white, but one
element was left in color. While the editing technique may be dated, the
idea of using color in composition to draw attention to a main element
is still in use.
The use of color can drastically change the mood of your image. The
use of cooler colors (blues, greens, and purples) create a calm and
tranquil mood. Warmer colors such as reds, oranges, and yellows create
an energetic or happy mood.
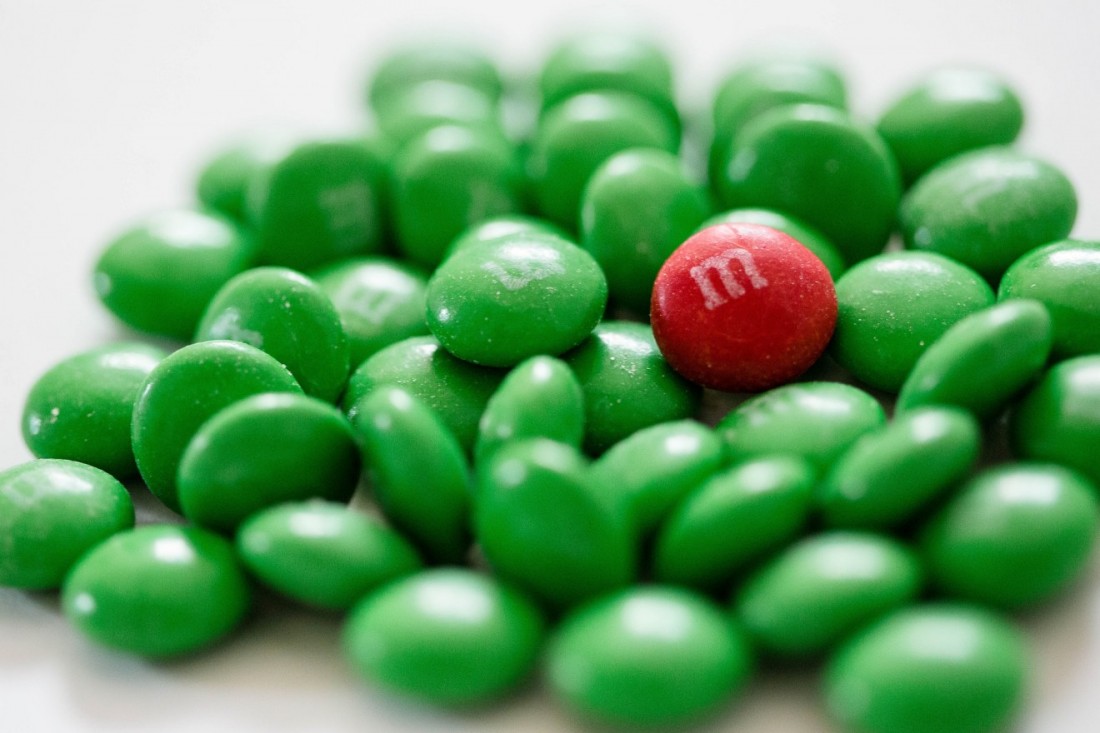
Colors can also be used to draw attention to one main element. Adding
a pop of color to a de-saturated or monochromatic background creates a
strong focal point. Take notice of the colors in the world around you.
Notice how different colors make you feel then incorporate those into
your photographs.
Use of color to draw focus to one element – Photo by Paisley Layne Photography
Rule #13: Golden Ratio
Skill Level: Advanced
How to Use it: The golden ratio is very similar to
the rule of thirds, but is considered to be an even more eye pleasing
ratio. While the rule of thirds is based on a 1:1:1 frame, the golden
ratio is based on a 1:1.618 frame. It comes from the mathematician,
Leonardo Fibonacci, who noticed there was an absolute ratio found in
nature that’s unequivocally pleasing to the human eye. This is
considered the golden number and has been used in art and design for
centuries.
The grid used for creating a golden ratio composition is similar to
the rule of thirds grid. However, the intersecting lines are much closer
to the middle of the frame drawing the viewer’s eye to a more central
element.
Golden Ratio – Horizon falls on lower line – Photo by Paisley Layne Photography
Rule #14: Golden Spiral
Skill Level: Advanced
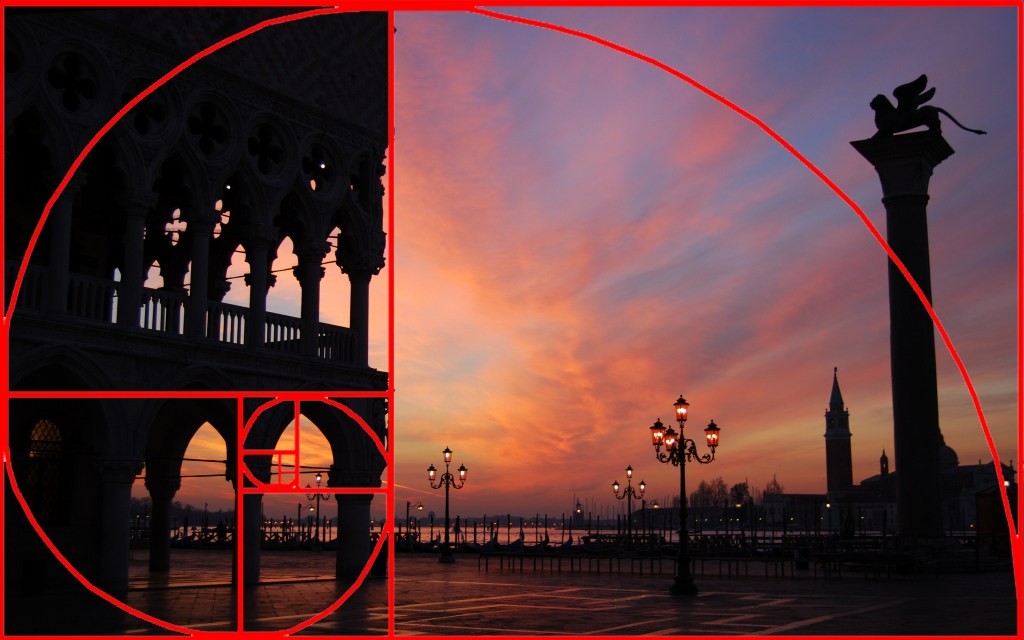
How to Use it: This Fibonacci guy was quite the
thinker. The Golden Spiral, is also part of his work and was developed
using a sequence of squares. There are points on each of the squares,
which determine the path of the spiral. This composition method works so
well because it creates a natural flow in the photograph, guiding the
viewer’s eye right where it needs to go.
Golden Spiral – Photo by Paisley Layne PhotographyGolden Spiral – Photo by John Lemleux
Rule #15: Golden Triangle
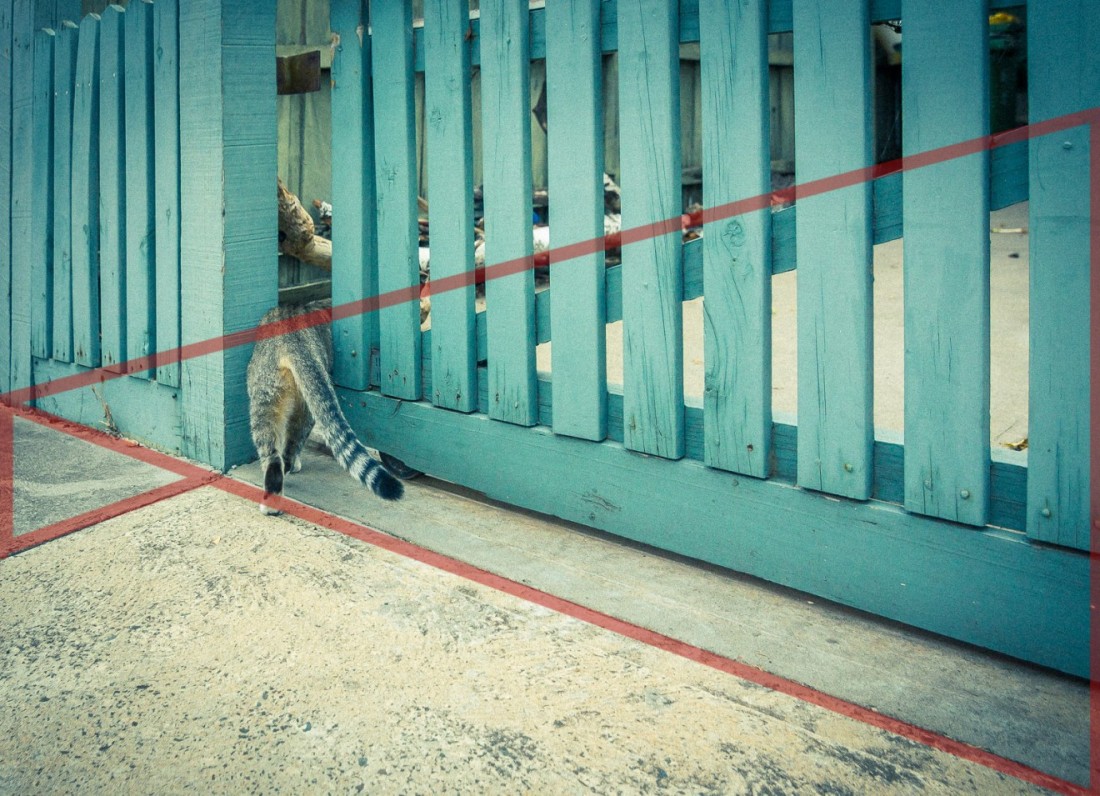
Skill Level: Advanced How to Use it: If your photo has diagonal lines, try
using the Golden Triangle. When composing your image, look for three
strong lines that form the same angles.
Confused yet?
Imagine there are intersecting diagonal lines in your image which
carry the viewer’s eye smoothly through each element in the frame. It
may sound confusing, but is simpler than it seems. Check out this grid
overlay for a visual aid:
Photo by GautschGolden Triangle – Photo by Justin SchuckImage that there are intersecting diagonal lines in your image which
carry the viewer’s eye smoothly through each element in the frame. It
may sound confusing, but is simpler than it seems.
Editing Tip:
I use Adobe Lightroom to help edit and perfect my image compositions.
In Lightroom you have the option to choose different crop overlays to
help you achieve a perfectly balanced image. To access these overlays
open Adobe Lightroom, click on Tools -> Crop Guide Overlay. Then
choose the overlay you want to use.
Learn The Photography Composition Rules, Then Break Them
Don’t let photography composition rules cause to feel like you’re
trapped in a box and can’t get out. Rules can be fun, especially when
you break them. That being said, there’s a lot to be said for learning
the rules first, and then finding ways to break them. There’s a really great Picasso quote…
“Learn the rules like a pro, so you can break them like an artist.” –Pablo Picaso
I personally love this quote because being an artist means having the
freedom to create anything you want. So have fun out there! Get
creative and push yourself to try new things.


 9:14 PM


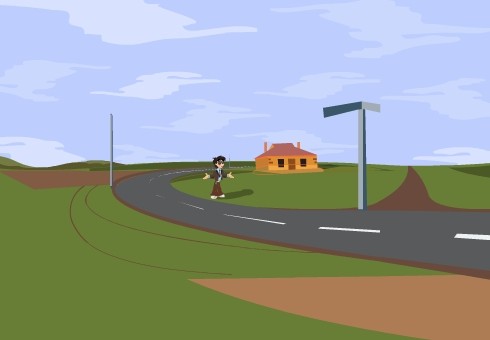



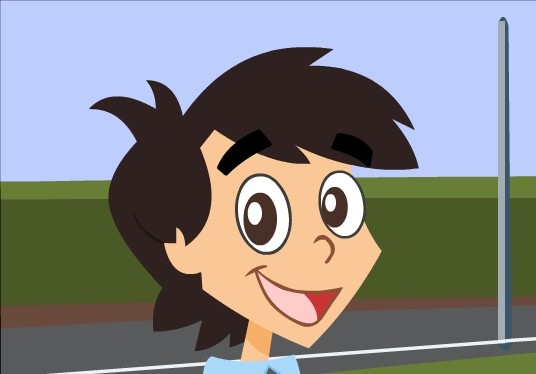
 Camera angles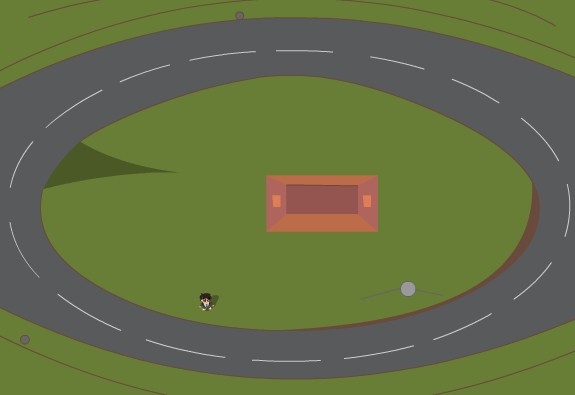



 Camera movement